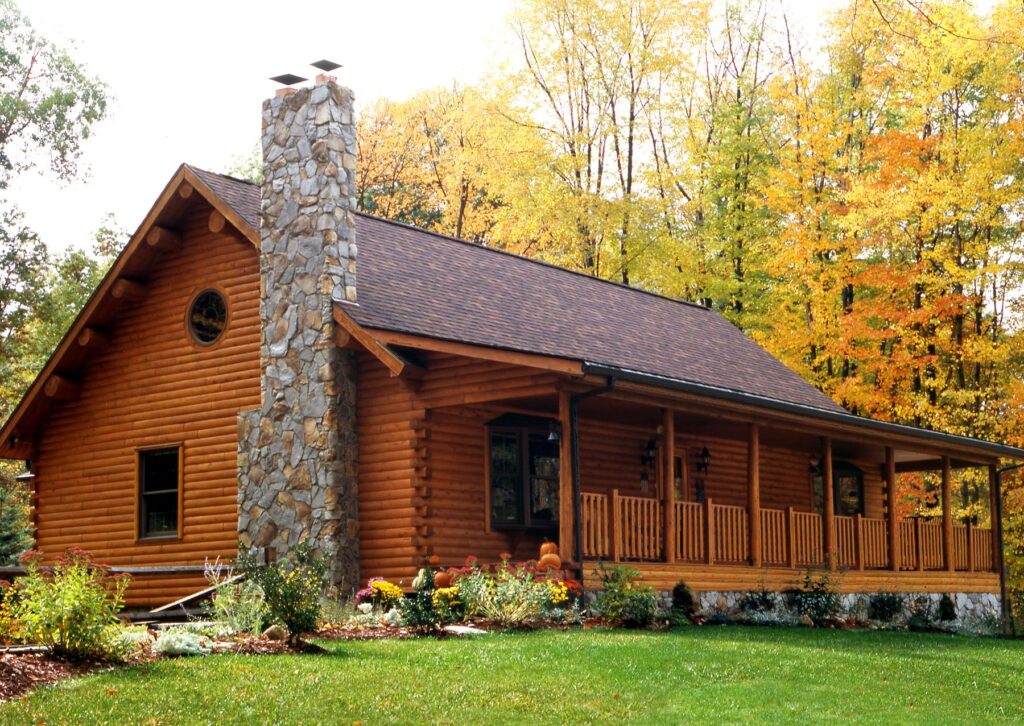
If you’re making a fall maintenance list for your Ward log home, give yourself time to inspect the house before deciding what to buy or repair. A weathered-looking wall may only need cleaning, while an opening in the caulking deserves a closer look. Knowing what you’re looking at helps you plan the work and ask the right questions before you get started.
Begin outside with the gutters and drainage, then work your way around the walls. Here are the places we’d include in a fall checkup, followed by a checklist for the other jobs to handle before winter.
Check where your gutters send water
Clearing leaves out of the gutters belongs on the list, but don’t stop at the roofline. Follow each downspout to see where it empties. An extension may have worked loose, or the outlet may leave water pooling beside the house. The goal is to carry that runoff away from your log home so it doesn’t keep splashing against the lower logs. If you’ve noticed a water stain on a wall and can’t find the cause, watch from a sheltered spot during the next rain to trace it to an overflowing gutter or a leaking joint.
Look over the roof from the ground, too. Visible damage or loose roofing gives you a reason to arrange a roofer’s inspection. Have the roofer include the flashing around chimneys, vents, and roof connections, where the details that direct water away may be difficult to judge from below.
Give the logs some room to dry
A flower bed that looked well clear of the house in spring may have filled in by fall. Trim back shrubs and branches that touch the logs, and clear out leaves caught against the wall. Good air circulation helps the wood dry after a rain. It’s also worth looking at the soil and mulch around older planting beds. Adding a fresh layer each year can gradually bring the bed closer to the wood, so check that the ground still sits below it.
Before you cover the outdoor furniture for winter, move it aside long enough to see the wall behind it. You may find an area you’ve missed during the rest of your inspection. Keep stacked firewood away from the house as well.
Look closely at the caulking and log checks
The exterior caulking between the logs is on part of Ward’s Comfort System 5. As you follow those joints around the home, look for sections that have split or pulled away from the wood. Include the edges around windows and doors, and pay particular attention to the joints around any beams that pass through the log wall. Photograph questionable areas so you can discuss the repair and identify a compatible product before starting. Ward uses Perma-Chink’s Energy Seal and has it on hand if needed.
Cracks in the wood itself, called checks, take a little more judgment. Checks can develop as wood dries, and their exposure helps determine whether they need sealing. An opening on the upper side of a log can collect rainwater. A sheltered check facing down may not need filling if it doesn’t allow drafts. If you’re unsure about one, ask before reaching for the caulking gun.
Soft wood, a spot that stays damp, or water coming inside calls for attention. Finding the source of the problem will help determine the repair.
Check the stain before adding another coat
If you’ve set aside a weekend to stain your home, take a closer look before you order supplies. A wall that gets the afternoon sun may show wear long before the logs beneath a covered porch, so the whole house may not need the same work. Even a faded appearance can be deceiving. Dirt can dull the finish enough to make it look worn, so it pays to clean a small test area with a product approved for your stain. Let the wood dry, then compare the color and check whether water runs off or soaks in. If the color returns and the finish still sheds water, that wall may only need cleaning. Where you find bare patches or water soaking into the wood, check the finish manufacturer about preparation and recoating.
Our guide to when a log home needs stain explains that inspection in more detail. An old container or invoice can help you identify the finish already on your home. If you use Q8 Log Oil, follow its preparation directions: the product needs porous wood to penetrate, and an existing surface coating can interfere with that.
Once you know what work the finish or caulking needs, check the application directions against the forecast. A comfortable afternoon doesn’t necessarily mean the logs are warm enough for the product, especially in a shaded area. Allow for the required surface conditions and drying time before rain. Get advice promptly about active leaks or damaged wood, even if the weather has ruled out the work you had in mind.
Keep this checklist with your fall jobs
The exterior inspection may turn up a few jobs of its own. Add them to your usual seasonal tasks so you can track what you finish and what needs attention.
- Clear gutters and downspouts, and check that runoff drains away from the house.
- Look for visible roof damage and arrange an inspection where needed.
- Clear leaves from against the walls, trim touching plants, and keep firewood away from the home.
- Inspect caulking, log checks, and damp areas. Photograph anything you want to ask about.
- Assess the finish and identify the existing product before choosing a cleaner or coating.
- Replace worn weatherstripping around doors and windows.
- Disconnect, drain, and store outdoor hoses. Follow the manufacturer’s or installer’s directions for winterizing faucets and irrigation equipment.
- Arrange annual professional cleaning and inspection of heating equipment and chimneys.
- Test smoke alarms and carbon monoxide alarms, and continue testing them monthly.
If you close your log cabin for the winter, work through a winterization plan with your plumber and heating contractor. An unheated property needs preparation specific to its plumbing and heating systems.
Have a question about something you find on your Ward log home? Get in touch with us. A photo of the whole wall and a close-up of the area will help us get started.